Begin with Intention, Not Settings
Before touching a dial, ask yourself: What feeling do I want to preserve in this photograph? Do you want the blades of the windmill to show motion? Should the clouds leave faint trails like passing thoughts? Do you want the image to feel grounded, or like a memory surfacing through mist? Let those answers guide you. The technical settings are important, but your vision matters more.
Setting Up Your Camera
If your camera supports in-camera multiple exposure, you’re ready to begin. Look for this setting in your menu—on many Nikon cameras, for example, it’s under the shooting menu; Canon and Sony have it too, though sometimes under creative modes.
Choose a mode that suits your desired effect:
- Use Additive mode to layer exposures transparently, preserving light and form.
- Choose Average if you want a softer blend between frames.
Select the number of exposures you want—typically 3 to 5 creates that gentle overlap you see in the windmill photo. Too few may feel static, too many may dissolve into chaos.
Creating Your Base Frame
Your first shot should be the backbone of your image. For the photo you’re aiming to recreate, the windmill forms this central structure—clean, symmetrical, and rooted in the landscape. Compose it carefully, placing it where your story begins.
You can choose to freeze it crisply using a fast shutter speed, or begin introducing blur if you want the blades to look as if they’re whispering secrets to the sky. A slightly slower shutter (around 1/60s) captures motion without losing form.
As you take your subsequent exposures, move with intention. Step slightly to one side, or tilt your frame subtly upward. Let the clouds shift. Let the blades rotate.
Shoot Like a Painter
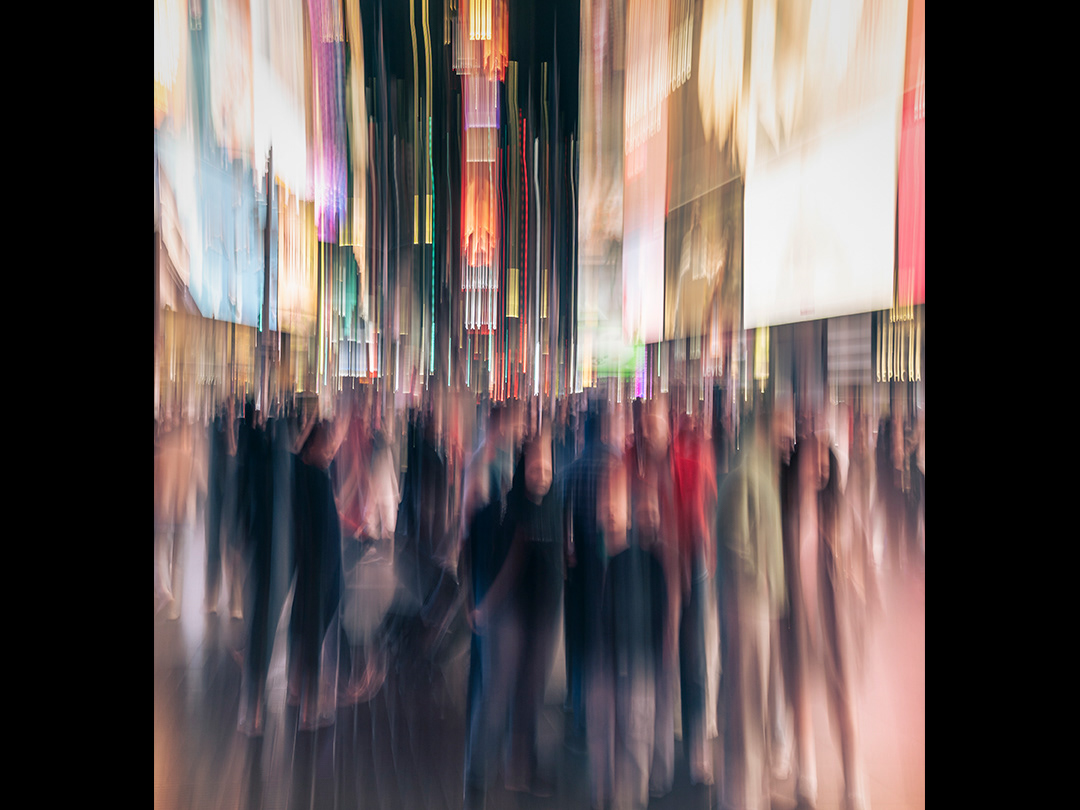
In-camera multiple exposure is not about precision. Each frame is a brushstroke. You’re painting with time. Once you’ve taken your exposures, your camera will merge them—revealing the scene not as it was, but as it felt.

